
How to Assemble a Floater Frame with Dovetail Keys
How to Assemble a Floater Frame with Dovetail Keys
Floating frames for canvases are a quick, easy, and affordable way to beautifully frame a painting or print on canvas. All floater frames purchased from Upper Canada Stretchers are shipped unassembled to protect the frame and for easier shipping. Instructions to assemble them will be included with your shipment and can also be found below or downloaded here!

Examples of how different stretcher profiles fit in UCS floating frames

You will need a hammer and a Phillips screwdriver (dovetail keys, eye screws, & 1” Phillips screws are supplied).

Align the corners of two adjacent bars and place them face down on a flat, firm surface. (*Place a thin cloth such as a bedsheet underneath to prevent scratching the frame.*) With the rounded end down, push in a plastic dovetail key by hand to get it started.

Tap the key gently with a hammer until flush with the back of the frame. This will automatically square up the corner.

Repeat this process for the remaining corners; they should line up perfectly on the front of the frame.

TIP: The corner edges may be a little sharp after assembly; if you prefer them to be slightly rounded, you can gently run the stem of a screwdriver up and down the edge. This will fold the sharp edges inward and provide a smoothly-rounded, tight-fitting corner. Unlike sanding, this procedure does not require touching up the paint afterwards.
How to Attach Your Canvas to Your Floating Frame
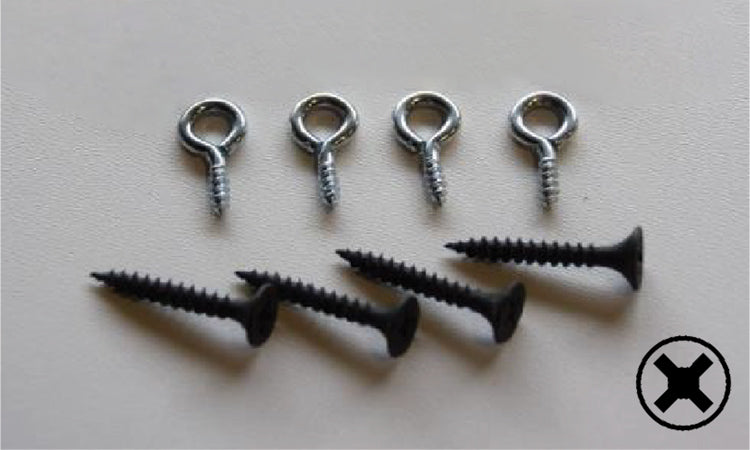
The eye screws and black Phillips screws are used to attach your canvas to the floating frame.

We have pre-drilled small holes on the inside edge of each bar to show you the location(s) for the eye screws. Bars under 48” will have one eye screw in the center, larger bars will have two or more, evenly spaced. They should be threaded by hand just until the round head touches the bar, aligning the head parallel to the bar.

Install all eye screws then turn the floater frame face up and center the canvas within it (use folded paper shims to keep the canvas centered, if desired). If any of the bars are curved out, they can be easily pulled in by grasping the frame and stretcher bar when adding the screws in the next step.
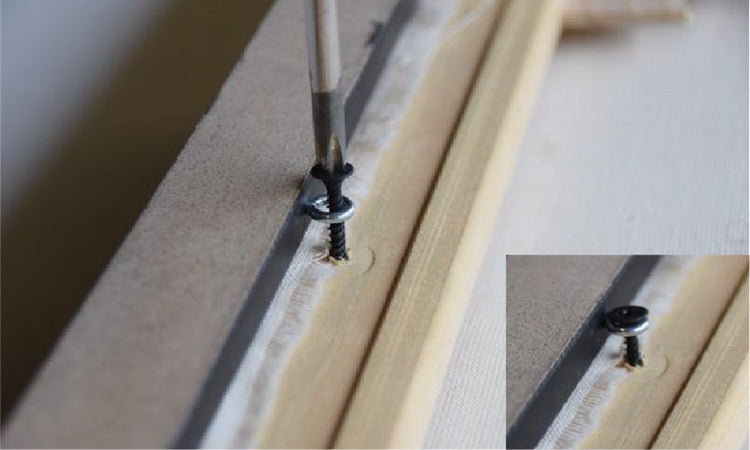
Turn the canvas and frame face-down again. If any bars are bowed out, they can be easily straightened by gripping the floater frame bar and stretcher frame bar together when you add the screws. Insert black screws through the eye screws and tighten with a screwdriver until they just start to pull the head of the eye screw down. The canvas will be pulled up by the screws to fit tight against the floating frame and hold your artwork secure.
A weight-appropriate hanger can now be attached to the canvas or floating frame.
Feel free to call us at 1-800-561-4944 if you have any questions!